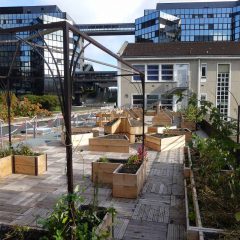


The farm of St Monica has a limited cultivable surface. They have to optimize space in the farm to obtain a sufficient crop yield and a mid-term objectif of financial autonomy. To achieved this, a long slope covered in grass has been made to practice raised bed culture.
Here are the steps to make the raised bed in pictures…
After clearing the slope, a trench was dug 30 cm deep.
The top soil was collected separately from the lower soil, in order to then put the fertile soil back on the upper part of the raised bed.
Then the largest branches, collected during the slope clearing were layed at the bottom of the trench, to keep the necessary level of humidity for future plants’s development .
Larger materials have a slower decomposing time and they provide nutrients over time. When they decompose, they turn into “sponges” that can keep moisture captured by the roots of plants.
Green and leafy branches are then placed, to constantly maintain the alternating layers of carbon and nitrogen materials, in order to speed up decomposition and composting in the center of the raised bed.
Between each layer of green and brow materials, a mixture of manure and soil is layed, starting with the soil of the lower layer. We also have to put water abundantly between each layers.
As we get closer to the surface, we use the finest materials that decompose quiker, to fill the raised bed.
The finished raised bed rises about ten centimeters above the ground.
Leave to stand for 2 or 3 weeks. The first crops can be put into the ground !


Leave a Reply
You must be logged in to post a comment.